Sign up / invite users
Looking for end-user support?
This area is for Super Administrators and others interested in the overall management of WordPress sites and networks that we host.
>> Search our end-user support documentation here.
We have built many tools on top of WordPress that are available to our users.
Below is our documentation on how to use the tools that are intended for Super Admin users.
Table of Contents
Create Sign Up Form
Signup & Invites allows you to replace the WordPress signup page (wp-signup.php) with your own signup form. It can also be configured to allow your users to invite other users to join their site (and create their own site – optional).
You set up your own signup form as follows:
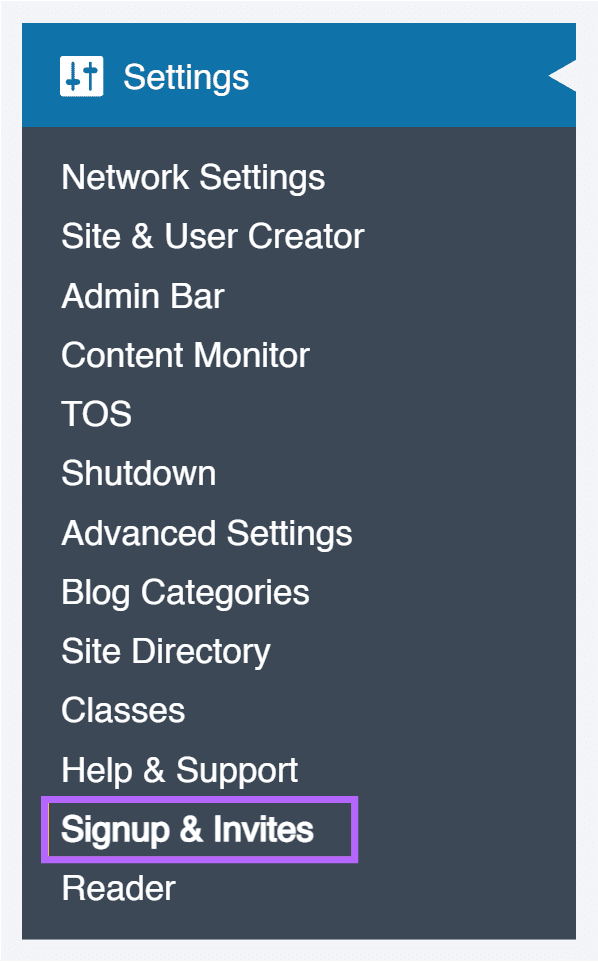
1. Go to Settings >Signup & Invites in the network admin dashboard.
2. Select Signup form in the general tab and click Save Changes.
By default, signup forms and User Invites are enabled on all new CampusPress networks.

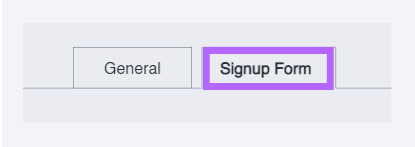
3. Click on Signup Form tab.
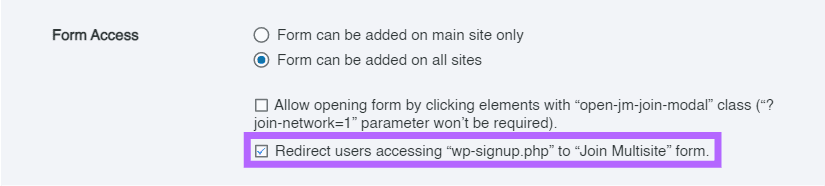
4. Scroll down to Form access, select where you want the form added and select “Redirect users accessing “wp-signup.php” to new signup form.”
This redirects all users from WordPress sign up page (wp-signup.php) to your new custom sign up form.
You can also allow the signup form to open as a pop-up when users click an element such as a button or link on a site.
To enable this: select the option Allow opening form by clicking elements with “open-jm-join-modal” class
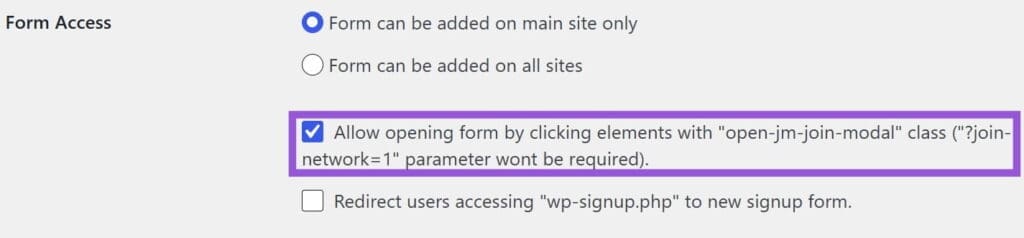
Once this option is enabled, the signup form will open when a user clicks an element that has the following CSS class added to it: open-jm-join-modal
This means you don’t need to add the ?join-network=1 parameter to the page URL. The form will open automatically from the element that includes the class.
Example: Add the signup form to a button
- Edit the page or post where you want to add the signup button.
- Add a Button block.
- Add your button text, for example: Sign Up
- Select the button block.
- In the block settings sidebar, open Advanced.
- In Additional CSS class(es), add: open-jm-join-modal
- Update or publish the page.
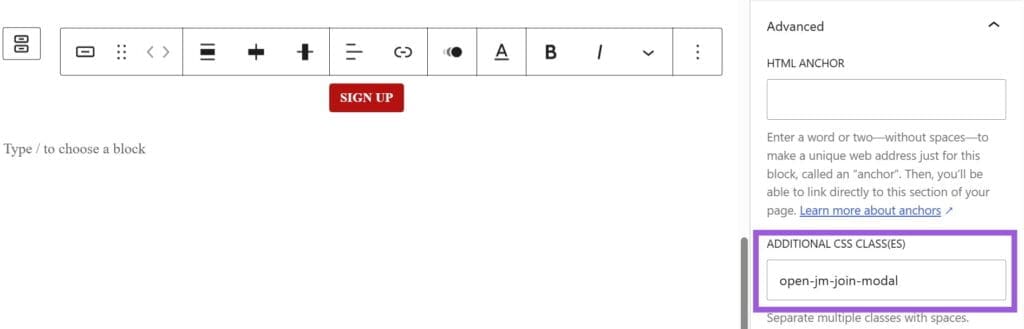
When visitors click the button, the signup form will open as a pop-up.
5. By default, WordPress doesn’t allow hyphens in site URLs. Select “Allow hyphens when registering sites” if you need users to be able to use hyphens when creating their new sites.
6. Use Styling, Network Logo URL and Background URL to customize your sign up form (optional).
7. Add your terms of service if you want users to agree to your terms before creating accounts or sites.

8. Add a number to the Site Registration Limit if you want to limit the number of sites users can create. By default, users are able to create unlimited sites if your registration settings allow site creation.

9. Select New site template if you want to display your selection of template sites on your sign up form.

Refer to site templates documentation on how to assign template categories.
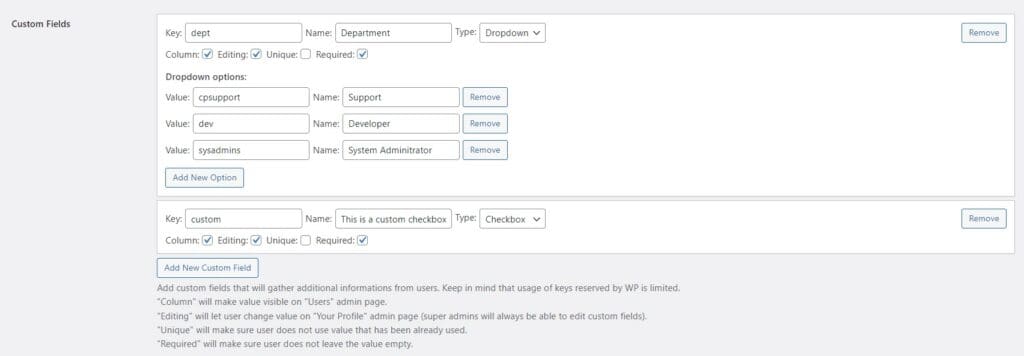
10. Add any new Custom Fields that will gather additional information from users. It is important to keep in mind that usage of keys reserved by WordPress is limited to:
- “Column” will make the value visible on “Users” admin page.
- “Editing” will let the user change value on “Your Profile” admin page (super admins will always be able to edit custom fields).
- “Unique” will make sure the user does not use value that has been already used.
- “Required” will make sure the user does not leave the value empty.
11. Click Save Changes.
12. Check your signup form by going to Dashboard > My sites and click on Add New.
Invite Users
Signup & Invites can be configured to allow your users to invite other users to join their site (and create their own site – optional). It can also be used to replace the WordPress signup page (wp-signup.php) with your own signup form.
When invite users is enabled users see an Invite Users menu option in Users > Invite Users in the dashboard of their site.

Which they can use to create invite links or invite code for others to join their site and create their own site (optional).

You set up invite users as follows:
1. Go to Settings > Signup & Invites in the network admin dashboard.
2. Select Sign up forms and User Invite in the general tab and click Save Changes.
By default, signup forms and User Invites are enabled on all new CampusPress networks. If you unselect Signup form users will only be able to share Invite code to join a site which a person needs to add to their profile page to join the site. Signup form allows the user to share an invite link which is a more user friendly way of joining a site.
3. Click on Signup Form tab.
4. Under Invite code, select Invite code link only.
Don’t select “Always allow user and site creation when using invite code link” if your CampusPress network is set up to authenticate against your school username and password. User accounts need to be auto created the first time a new user signs in with their school username and password.
Registration settings in Network settings affect Invite options. For example, if registration is disabled users won’t see the option to create site in User > User Invites.

5. Scroll down to Form access, select where you want the form added.

6. By default, WordPress doesn’t allow hyphens in site URLs. Select “Allow hyphens when registering sites” if you need users to be able to use hyphens when creating their new sites.
7. Use Styling, Network Logo URL and Background URL to customize your sign up form (optional).
8. Add your terms of service if you want users to agree to your terms before creating accounts or sites.
9. Add a number to the Site Registration Limit if you want to limit the number of sites users can create. By default, users are able to create unlimited sites if your registration settings allow site creation.
10. Select site templates if you want to display your selection of template sites on your sign up form.
Refer to Site templates documentation on how to assign template categories.
11. Click Save Changes.
Test Invite Users
You test your Invite link as follows:
1. Go to Users > Invite Users in the dashboard of any site.
2. Add some text for your invite link. Keep it short.

3. Select the default role of the users.
If you are using My Class you select the default role Student.
You can always change roles later and can create different codes for different permission levels.

4. Decide if you want the user to be prompted to create their own site during the sign up process if they don’t already have one.
Select ‘Force users to create a site in the process’ if you are using My Class and want students to create their own site while signing up for their account. This creates their site and automatically attaches the site to the class blog.

5. Click Add New Invite Code.
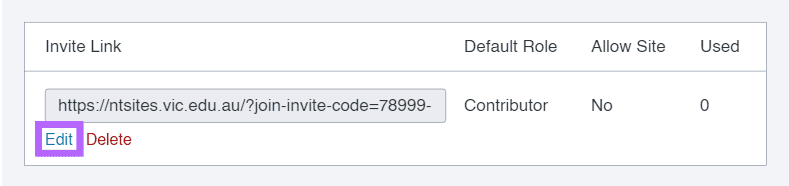
6. Open the new Invite link in a web browser as a logged out user.

7. Click on Edit underneath the Invite link to make changes to user role or site creation options.