Batch create / site template
Looking for end-user support?
This area is for Super Administrators and others interested in the overall management of WordPress sites and networks that we host.
>> Search our end-user support documentation here.
We have built many tools on top of WordPress that are available to our users.
Below is our documentation on how to use the tools that are intended for Super Admin users.
Table of Contents
Batch Create
Batch Create is the advanced option designed to allow Super admin users to quickly create a large number of sites or users.
The Batch Create plugin can be activated in Network Admin > Plugins > Plugin Management by selecting Network Activate.
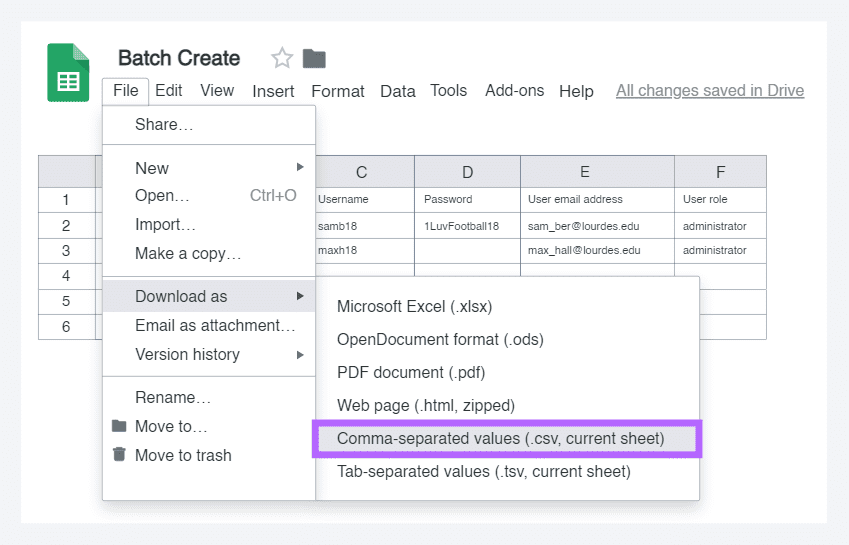
For best results, use Google Spreadsheets to create your spreadsheet and then download as a .csv file. The .csv file is uploaded to Sites > Batch Create or Users > Batch Create in the network admin dashboard.
Below are examples of how batch create can be used and what the batch create file needs to look like:
1. Create new users and sites.
- site URL is myschool.com/sitename e.g myschool.com/samb18
- If password field is left blank the user is sent an email with their username password info that includes a link to set their own password.
- The user role on a new site must be administrator. You can only assign a different user role when adding a user to an existing site.
2. Create new users with preset password or auto-generated password.
- If password field is left blank the user is sent an email with their username password info that includes a link to set their own password.
- When site name and site title is left blank you’ll see messages after uploading the batch create file that say Empty blog name, blog title not valid and blog will not be created. Ignore these messages and click Process Items if you only want to create usernames.
3. Add new users to existing sites with preset password or auto-generated password and set role.
- The two new users are added to existing site URL myschool.com/stevep18 assigned the role of contributor or subscriber.
- If password field is left blank the new user is sent an email with their username password info that includes a link to set their own password.
4. Add existing users to existing sites with set role.
- The user is added to existing site URL myschool.com/stevep18 assigned the role of contributor.
5. Add display name when create user account.
- You can set the display name when processing a batch create file for new users by adding their display name to a column after the user role.
- You need to network activate the Display Name enhancement plugin in Plugin > Plugin Management in network admin to list the display name in Users > All Users in the dashboard of the site. This is helpful on networks that use alphanumeric usernames as it allows an admin user to search by display name in Users > All Users in the dashboard of the site.
Using Batch Create
1. Set up your batch create file using a Google Spreadsheet with the following header row and format:

- Needs to be written in this order: Site Name (URL), Site Title, User Name, Password, User Email and User Role (the fields for display name and Site Description (the site tagline) are optional after User Role column).
- Each new user must be on a separate row and each of a users details in a new column. Refer to the examples above to see how to add the information for each user.
- Each user must have their own unique email address; you can’t use the same email address for more than one user or the site will be created against the first username that has been attached to that email address.
2. Once you’ve added the sites and usernames download as a .csv file onto your computer.
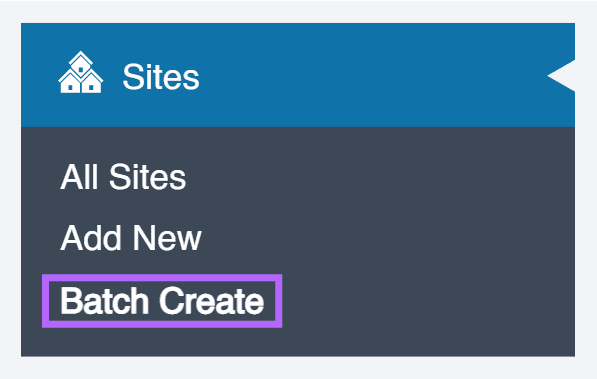
3. Go to Sites > Batch Create in the network admin dashboard.
4. Select Yes if your file has a header row.
5. Select ‘No‘ for local users.
- You only see the local user option on CampusPress networks that are set to authenticate against their single-sign on system, like Google Apps, LDAP, shibboleth, CAS. On these networks No needs to be selected otherwise the user accounts will be created as local users and the users won’t be able to log in with their school username and password.
Select if you want the login email sent to local users.
6. Select the template blog you want to use if you are using site templates.
The Site Templates tool allows Super Admins to set up templates that can be used for creating other sites that are almost an exact copy of the template site. Using site templates, you can ensure all newly created sites have the same appearance, header image, categories, widgets, plugins and your own customized content in posts, pages and comments.
7. Select ‘Yes‘ if you want to add new blogs and users to a class blog.
You only see the class blog option on CampusPress networks that have the Classes plugin network activated.
This automatically connects a student blog to the class blog when their new student blog is created.
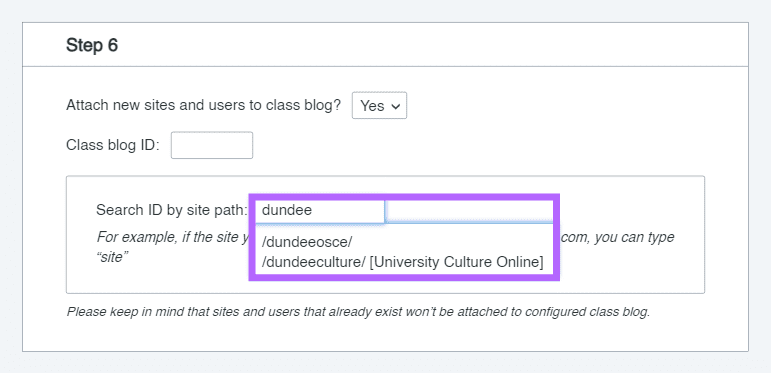
Add the class blog ID by searching using the blog path. When you type in the blog path into the ‘search by blog path’ field it automatically searches for the blog URL.
8. Upload your Batch Create file as a .csv file.
9. Click Run Batch Create.
10. The batch create queue will load after the batch create file has been uploaded.
11. Check all items to confirm all details are correct.
12. Click Process Items if all details are correct or click Clean Items if the details aren’t correct to upload a new batch create file.
Important tips:
Create a maximum of 100 sites or users per batch create file. This reduces the risks of you making a mistake when creating the batch create file.
Start by testing batch create using 10 sites or users in your batch create file and send your batch create file to contact@campuspress.com so we can check the file has been set up properly before it is uploaded to batch create.
Site Templates
The Site Templates tool allows Super Admins to set up templates that can be used for creating other sites that are almost an exact copy of the template site.
This tool is perfect for CampusPress networks that want to provide a standard site template for class blogs, student blogs, portfolios or course sites. Using site templates, you can ensure all newly created sites have the same appearance, header image, categories, widgets, plugins and your own customized content in posts, pages and comments.
Important tips:
When setting up the menu on the template site, avoid using relative or absolute links. This is because, when the site is cloned, these links won’t automatically update to match the new site’s structure. This behavior is a default feature of WordPress.
Instead, the best approach is to add direct posts or pages within the menu. By doing this, the cloned site will automatically generate the correct URLs, ensuring a seamless navigation experience.
When designing the page content, avoid using absolute links. Absolute links remain fixed to the original site’s URL and won’t adjust after cloning.
A better solution is to use relative links, which automatically adapt to the new site’s URL structure once cloning is complete.
How to Use Relative Links Correctly
On the Homepage of a Subsite: Use a single dot (.) before the first forward slash. Example: The absolute URL https://campuspress.com/support-blog/ would be written as ./support-blog/ when linking from the homepage.
On Any Other Post or Page (Not the Homepage): Use two dots (..) before the first forward slash. Example: The same page would be linked as ../support-blog/ when accessed from a subpage.
By following this method, your links will always point to the correct locations, even after your site is cloned.
Set Up Template Site
The first step is to create a new site that sole purpose will be to use as the template site. For example, give it a URL like classtemplate, studenttemplate or portfoliotemplate.
Now log into the dashboard of the new site and set up the theme, header image, posts, pages, widgets and any content you want to added to all newly created sites.
Here are examples of template sites:
- Year Level Portfolio Template (class blog)
- Student Portfolio
- Staff Portfolio
- College of Medicine Showcase Portfolio
Important tips:
Template site must be set to “Allow search engines” or “Discourage search engines” in Settings > Reading otherwise images and media files may not be copied across properly to the new sites, and you might have issues using the customizer on the new site, if the template site is set to private logged in users.
Changes to a template site are only applied to new sites created after the change is made.
You can set up as many template sites as you want and easily switch between the templates based on the type of sites you are creating. For example, you could have separate templates for class blogs and student blogs; or set up a series of templates for different courses.
Create Template Site
You activate your template site as follows:
1. Go to Site Templates > Templates in the network admin dashboard.
2. Add your template name, add the blog ID by searching using the blog path, and add the template description.
When you type in the blog path into the ‘search by site path’ field it automatically searches for the site URL.
Once it has found the site URL click on URL to add the site ID.
For example if the site you are searching for has a URL like http://mydomain.com/classtemplate you would type classtemplate.

You should see a number added to the site ID when you click on the site URL. Each site has its own unique site ID.
4. Select your template privacy.
This is the privacy that will be set on the newly created sites when it is created using the template site.
If your template site is set to “Block search engines” and you select “Keep default option’ the privacy on the new site will be set to “Block Search engine”.
5. Click Create Site template
6. On the next screen you choose what elements of the template site are included in all newly created site.
In most situations you would select all options except users as shown below.
7. If you want to update the dates of posts and pages to the date when the new site is created make sure you select “Update Dates”.

8. You can also upload your own screenshot that users will see when choosing a site template on your sign up page.
9. Click Save Template.
10. Create a test site by selecting the template in Sites > Add New to confirm the template site is being applied as you wanted.
Set default template
To use a site template as the template for all newly created sites you need to make it the default template as follows:
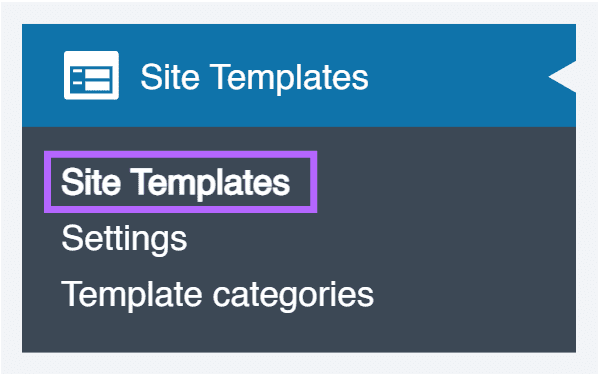
1. Go to Site Templates > Site templates in the network admin dashboard.
2. Hover your mouse over the title of the template that you want to use for all new blogs.
3. Click on Make Default.
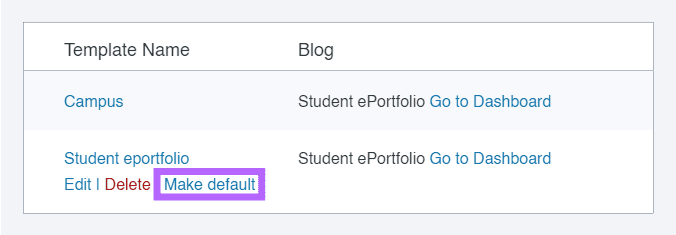
4. You will now see Default listed next to the template name and can remove it by clicking on Remove Default.
Set Template Sites for My Class
To display a list of template sites in My Class > Settings that teachers can select from you need to set up site template categories as follows:
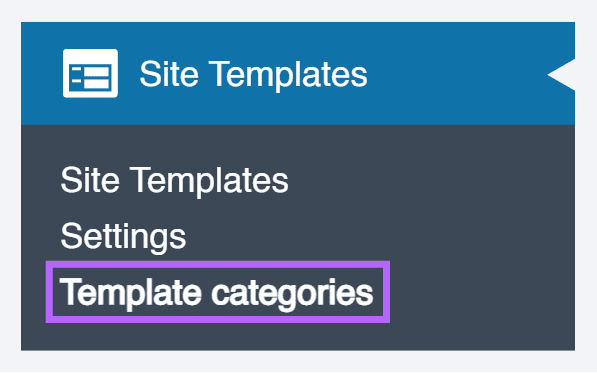
1. Go to Site Templates > Template Categories in the network admin dashboard.
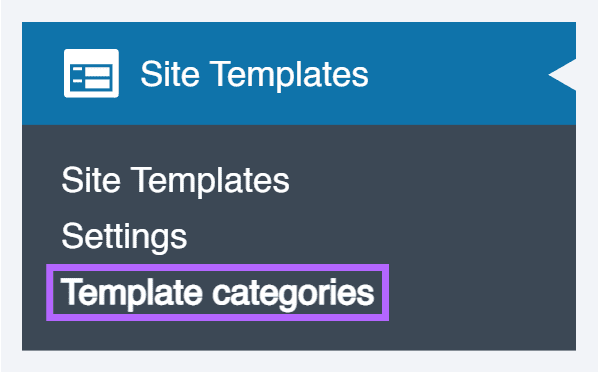
2. Add the template category name, category description and select if you want ‘Allow teachers to choose a template from this category as a default for new student blogs’ or use the template on your sign up page then click Add Category.
3. When you create a new template site in Sites Templates > Sites Templates you’ll see an option to assign a template to a template category.
With the student template category selected a teacher now sees a list of site template they can select from in My Class > Settings and this template is applied to all student blogs when the site is created using My Class > Create student blogs.
Set Template Sites for Invite Users
You can also categorize site templates to enable users to select from template site when a user creates their site using Invite code as follows:
1. Go to Site Templates > Template Categories in the network admin dashboard.
2. Add the template category name, category description and select if you want ‘Include the template on your sign up page” then click Add Category.
3. When you create a new template site in Site Templates > Site Templates you’ll see an option to assign a template to a template category.
4. Go to Settings > Signups & Invites
5. Scroll down and select New Site templates.
6. Click Save.
7. With the signup category selected the users now see options to select a site template when they create a new site using Invite code (created in Users > Invite Users).
Important tips
1. How the template is applied to the new site
The template site isn’t applied to the new site until the user logs into their new site the first time or a logged in super admin visits the new site. i.e. if you view the new site as a logged out user, before the template site has been triggered by the login process, it won’t look like your template site and will have the default theme (the theme listed in Settings > Network Settings in the network admin).
When user logs into their new site for the first time, or a logged in super admin visits the new site, they will see screen that says ‘We’re setting up your new blog’ and will see information as the template blog is copied. The user will be redirected to their dashboard once it has finished copying the template site.
2. Switching between the templates
The default template is automatically applied to all newly created sites.
Super admins can choose which template is used to create a new site when using Sites > Add New by selecting the desired template or when creating sites using Batch Create.
You can let users select which template is applied to their site when it is created using the sign up page by setting up the “Show template selection on registration” in Site Templates > Settings as follows:
1. Go to Site Templates > Settings
2. Select the check box next to “Show template selection on registration”.
3. Select type of selection you want users to see on your sign up page.
4. Click Save Settings.