Branding & Logos
On your CampusPress network, you have complete control over all aspects of branding, including logos, links, and more.
All branding changes and customizations can be made by navigating to the Branda Pro section in the network admin dashboard.
Here’s an overview of how you can use Branda Pro:
Table of Contents
Images
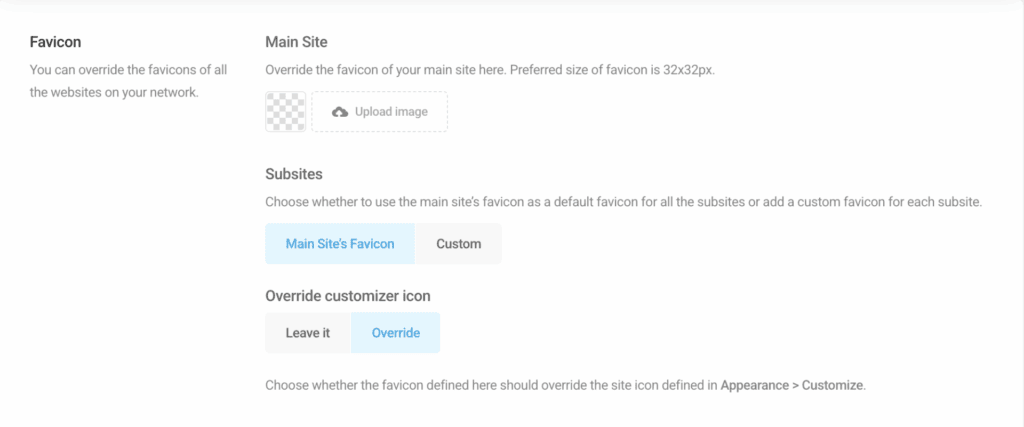
You can override the default favicon and the default login screen logo on your Main Site, replacing the standard WordPress branding with your own using the following steps:
To add a favicon:
- Go to your Network Admin dashboard
- Click on Branda Pro
- Navigate to Utilities -> Images
- Click Favicon
- Upload your favicon image
- Click Save Changes
To use the same favicon on all the subsites in your network, click the Main Site’s Favicon button under Subsites.
To update the logo on the login screen:
- Go to your Network Admin dashboard
- Click on Branda Pro
- Navigate to Front-End -> Login Screen
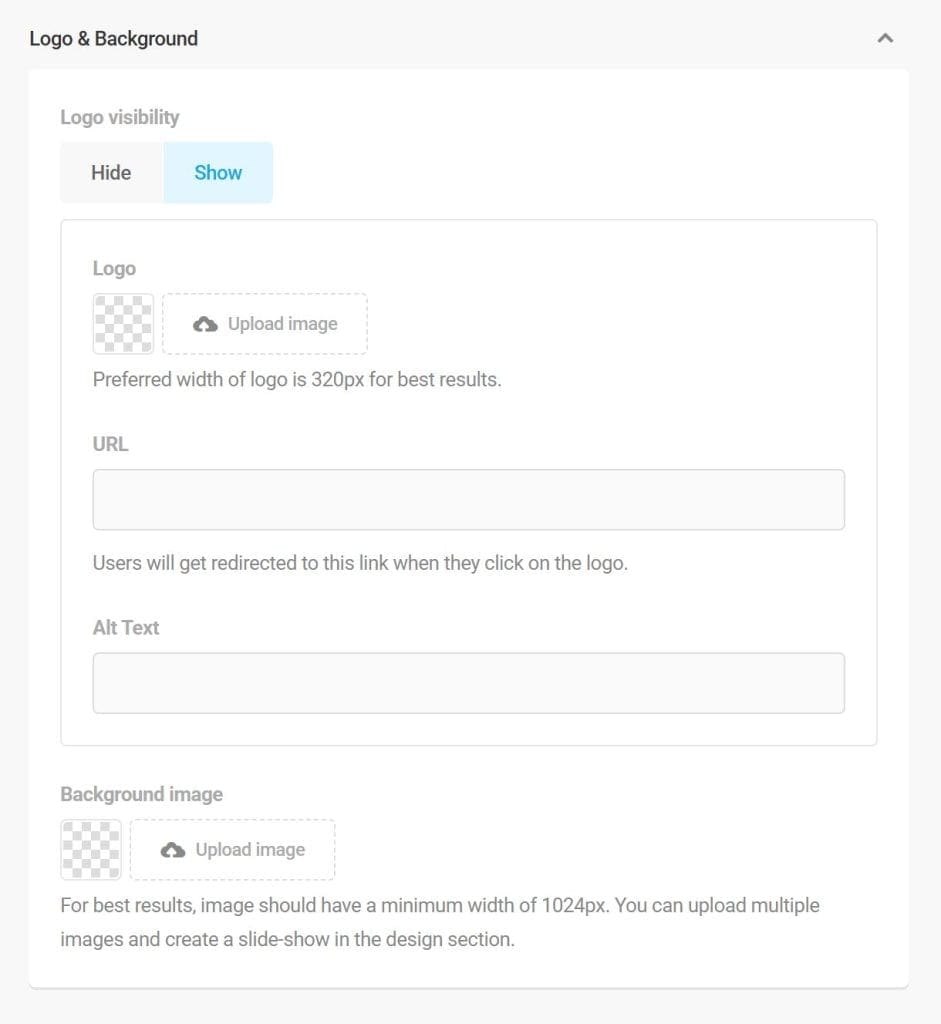
- Go to Content -> Logo and Background
- Upload your Logo and Background
- Click Save Changes
Admin Bar
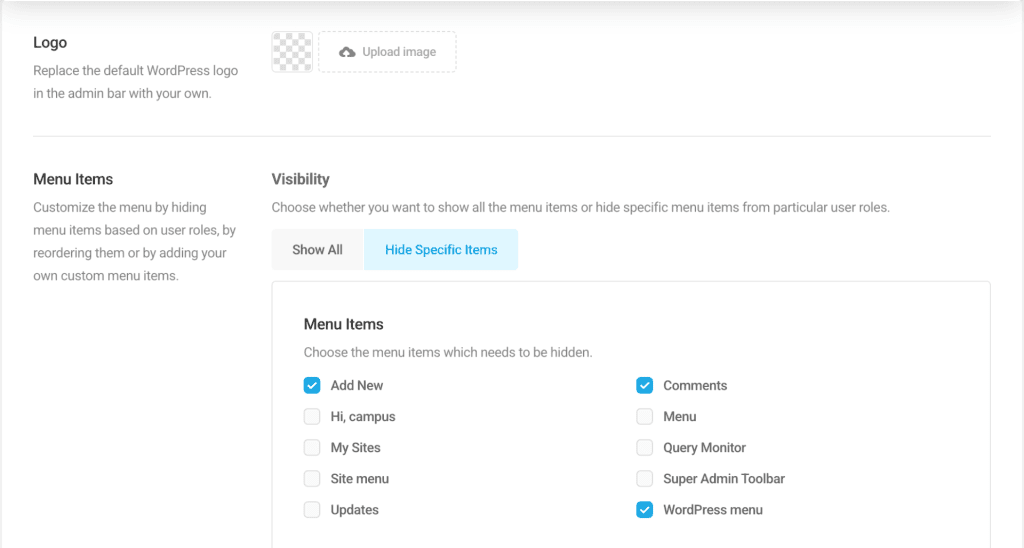
The Admin Bar is the toolbar that appears at the top of your site when you’re logged in. It provides quick access to important areas like the dashboard, pages, and settings.
The admin bar options allow you to:
- Replace the default WordPress logo in the admin bar with your own.
- Control which menu items are displayed in the admin bar on your blogs.
Widgets
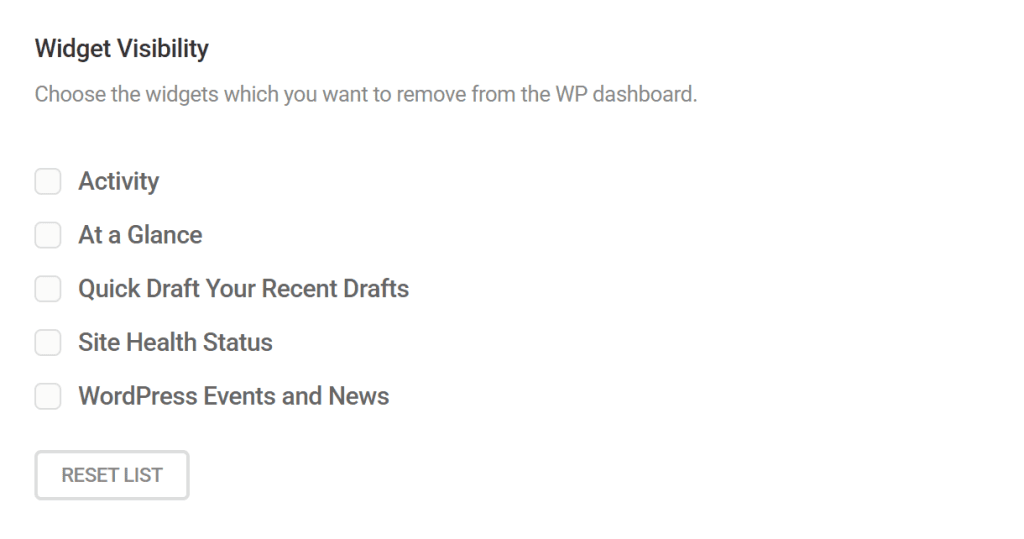
Widgets allow you to add extra content and features to your site, such as author information, text blocks, or custom content areas.
Branda Widget Module allows you to:
- Control which “Default WordPress Dashboard Widgets” are shown to bloggers.
- Customise the default WordPress Welcome message
- Add Text Widget to the WordPress Dashboard
- Use the Custom Meta widget module to rebrand the default Meta Widget
Footer Content
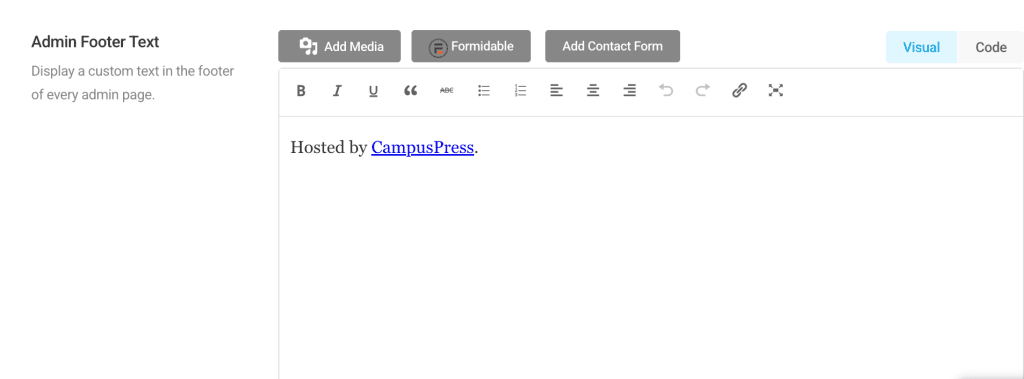
Branda Admin Footer module under the Admin Area section allows you to:
- Display copyright or other information in the footer of every admin page.
To access admin footer content settings
- Go to your Network Admin dashboard
- Click on Branda Pro
- Navigate to Admin Area
- Click Admin Footer
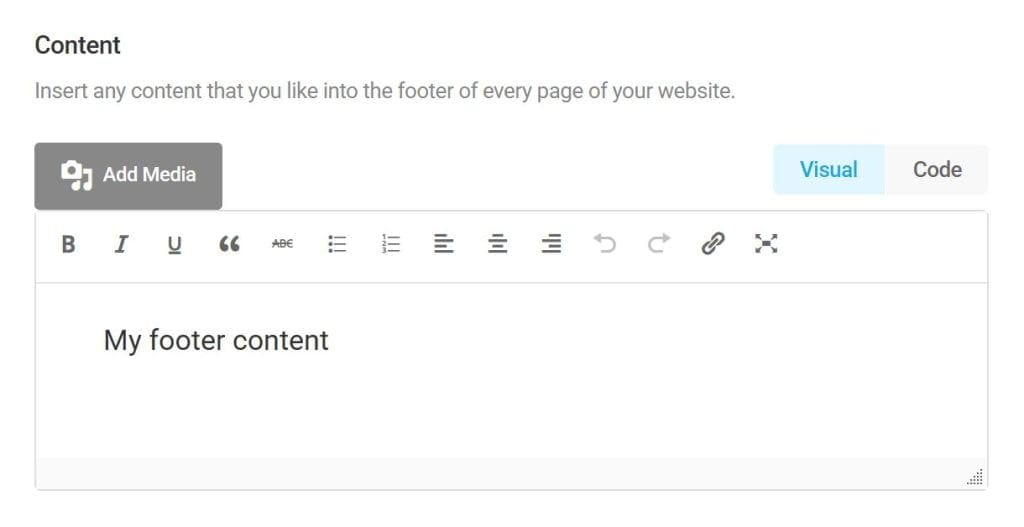
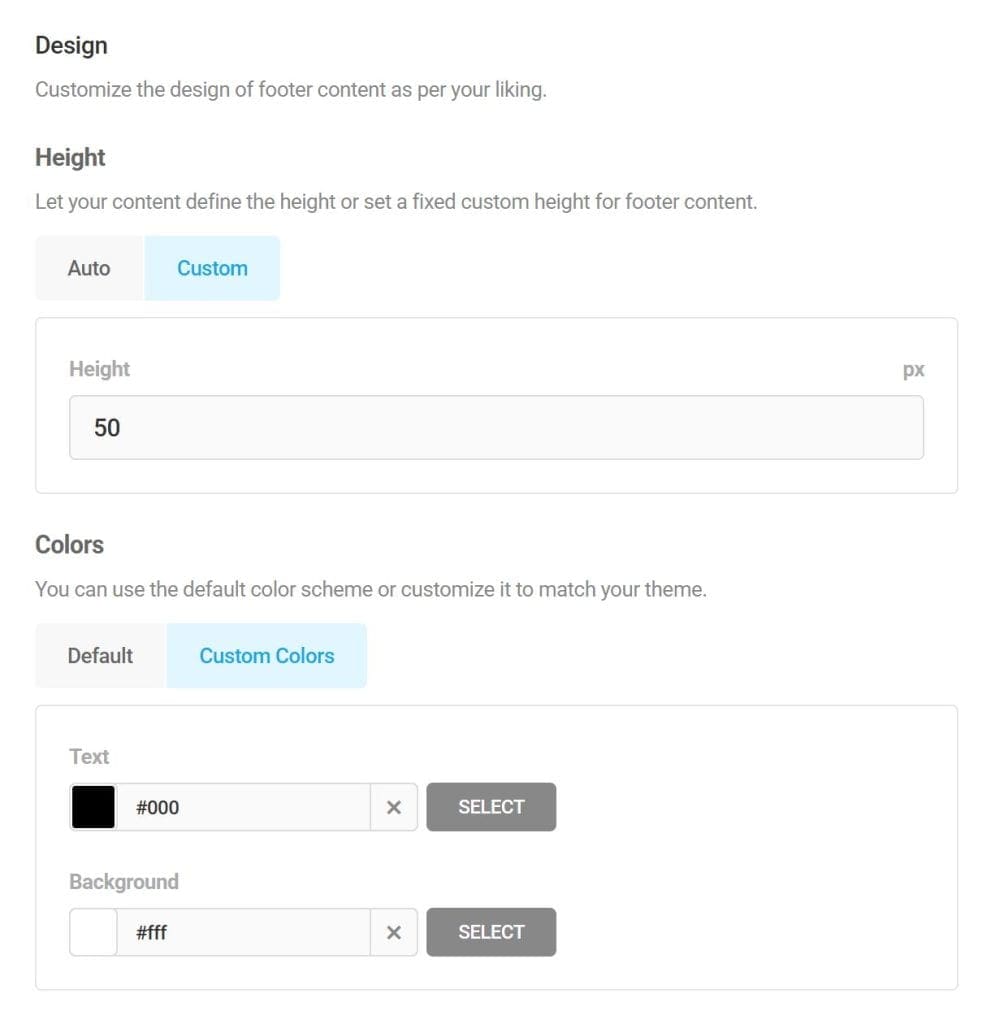
Branda Footer Content module under the Front-End section allows you to:
- Insert any content that you like into the footer of every page of your website.
- Customise the design of the footer content to your liking.
To access frontend footer content settings
- Go to your Network Admin dashboard
- Click on Branda Pro
- Navigate to Front-End
- Click on Footer Content
Site Generator
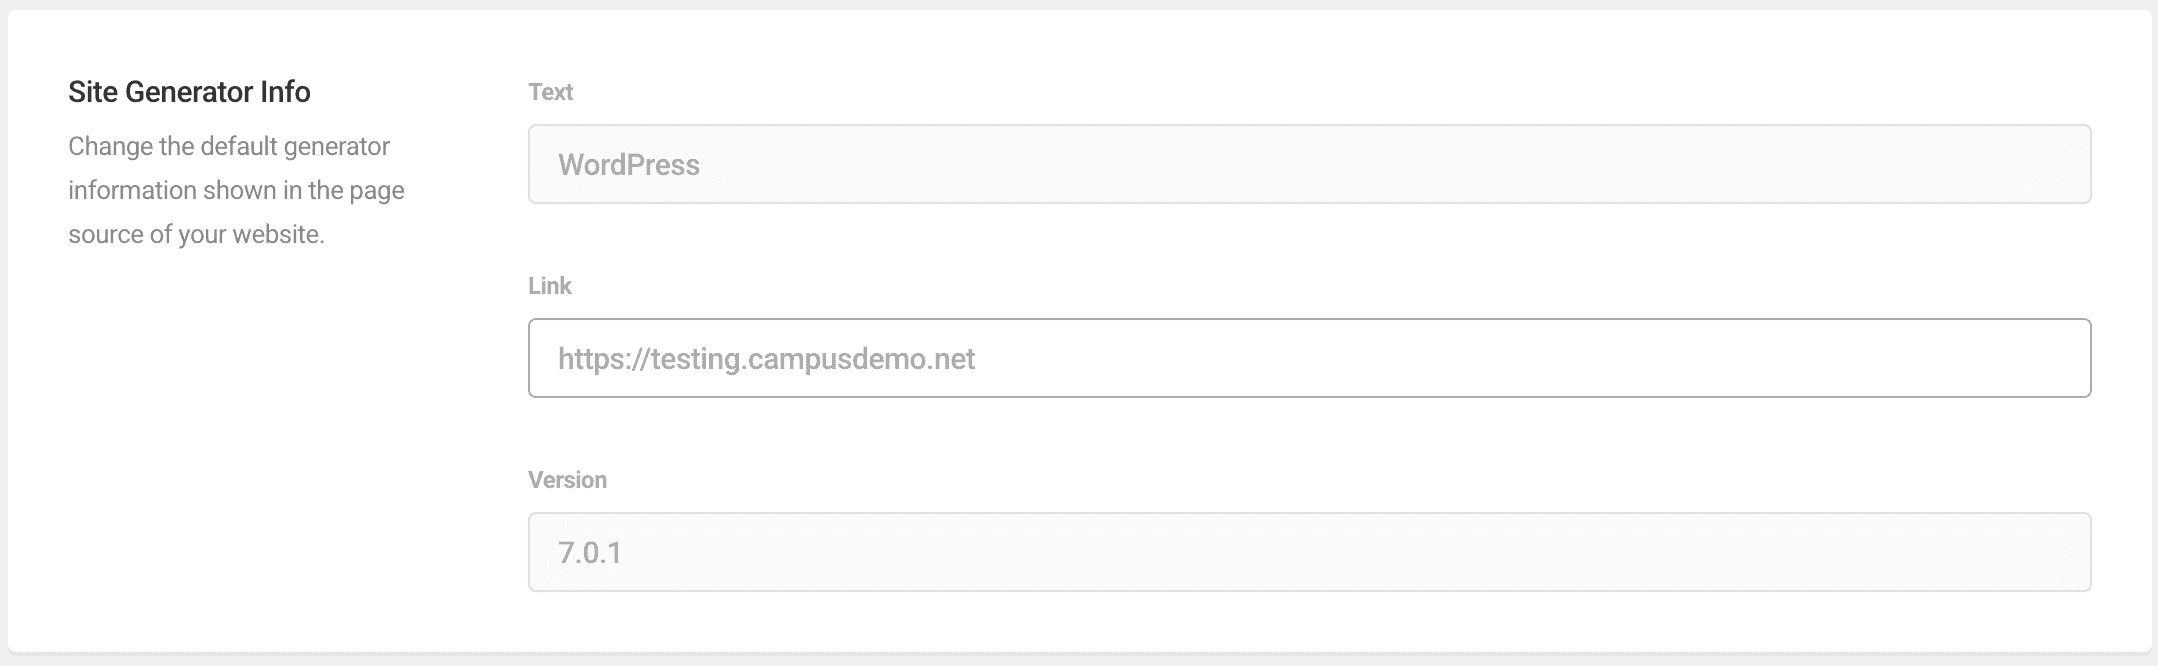
For advanced uses – replaces code found in the HTML source with your network name instead of the default “WordPress” information.
To access site generator settings
- Go to your Network Admin dashboard
- Click on Branda Pro
- Navigate to Utilities
- Click Site Generator
Text Replacement
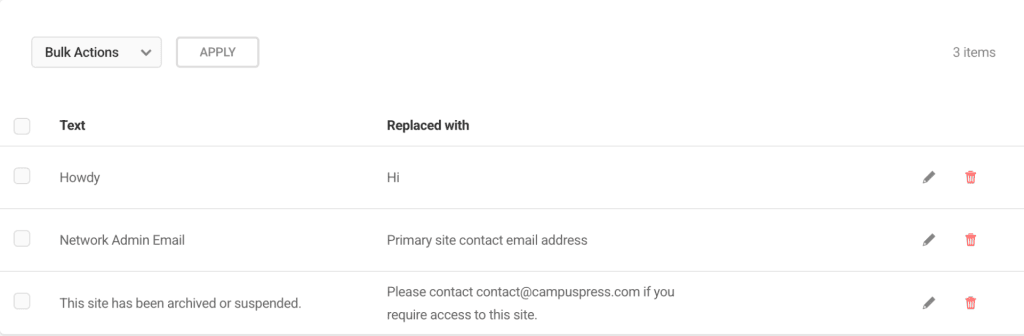
This module allows you to change certain text in the dashboard and replace it with a word of your choice.
For example, you can replace all occurrences of the word ‘CampusPress’ with ‘University Blogs’.
To access text replacement settings
- Go to your Network Admin dashboard
- Click on Branda Pro
- Navigate to Utilities
- Click Text Replacement
Admin Help Content
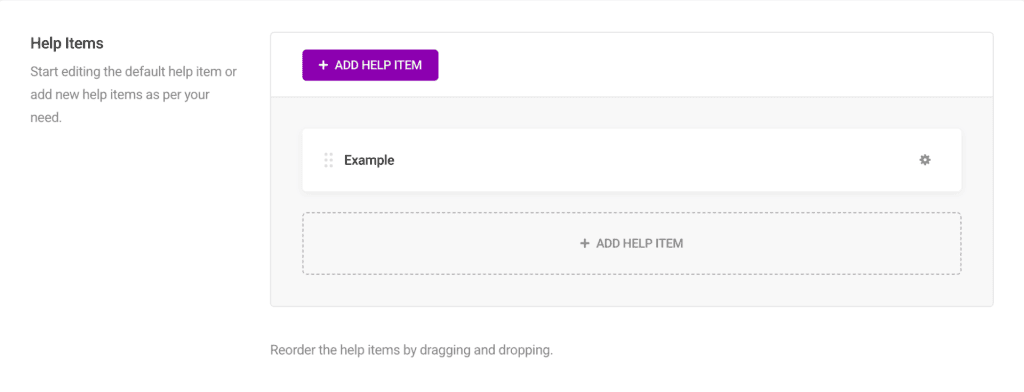
The Admin Help Content module allows you to change the existing help content shown by WordPress when you click the “Help” tab at the top-right of any admin screen. You can also add new help items and/or add a sidebar to the help content.
To access admin help content
- Go to your Network Admin dashboard
- Click on Branda Pro
- Navigate to Admin Area
- Click Help Content
CSS
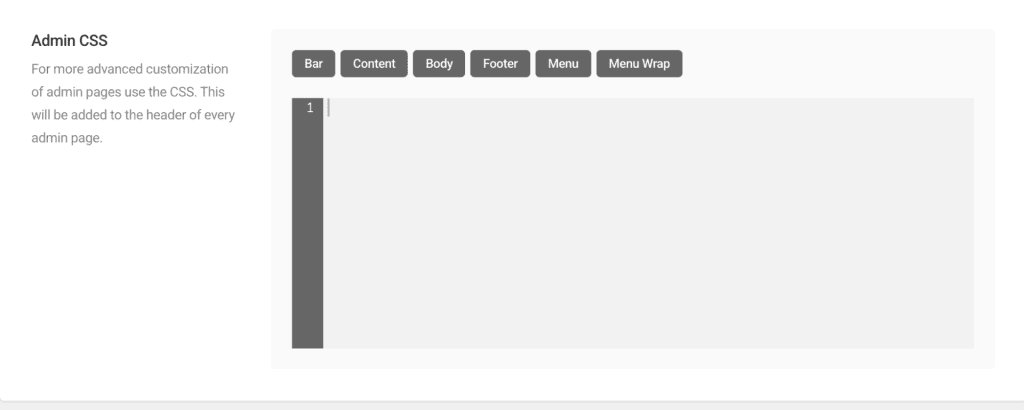
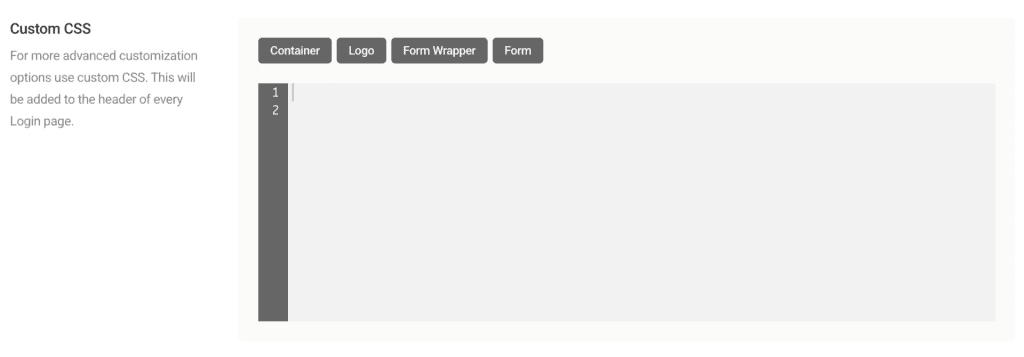
Allows you to add Custom CSS to the header of every admin page for every site or the header of the login page for every site.
To add custom CSS to the header of every admin page
- Go to your Network Admin dashboard
- Click on Branda Pro
- Navigate to Admin Area
- Click Custom CSS
To add custom CSS to the login page
- Go to your Network Admin dashboard
- Click on Branda Pro
- Navigate to Front-end > Login Screen
- You will find Custom CSS adding option at the bottom of the page
Tracking Codes
The Tracking Codes module allows you to add tracking codes to every page of your website or add them conditionally.
To access tracking code
- Go to your Network Admin dashboard
- Click on Branda Pro
- Navigate to Utilities
- Click Tracking Codes
- Click the + Add Tracking Code button to add a new Tracking Code