
The Block Editor—also known as Gutenberg—has become the standard content editor in WordPress, offering a more intuitive and flexible editing experience compared to the older Classic Editor.
The Block Editor is designed to be user-friendly and can help students confidently start their blogging journey. Still, those who are new to WordPress may need a bit of guidance as they get familiar with its block-based layout.
In this tutorial, we’ll walk you through what the WordPress Block Editor—often called Gutenberg—is and highlight its key benefits. We’ll also showcase six of the most useful blocks for student bloggers to learn. Let’s get started!
An Introduction to the WordPress Block Editor
The WordPress Block Editor is the platform’s default content creation tool for editing and publishing website pages and blog posts. Each element is contained in its own ‘block’ – hence the name.
Essentially, a block is a unique section of a page. Users combine and arrange these blocks to build their blog posts and pages.
Some examples of block types include:
- Headings
- Text (Paragraphs)
- Images and video embeds
- Buttons
- Tables
- Lists

Once you add blocks, you can easily rearrange them, as well as customize their styling and the content within them.
Aside from the default blocks readily available within the WordPress Editor, there are also plugins your students can use to extend the Block Editor’s functionality. They generally provide access to more content options and blocks for specific uses.
When they’re first starting, your students likely won’t need these added block plugins, but as they become more familiar with the Block Editor, they may find it useful to incorporate them.
There are many benefits to the Block Editor, including its ease of use. It offers a simple, intuitive interface to enhance your students’ blogging experience. Plus, it’s a powerful tool for helping WordPress beginners learn their way around the content creation processes.
How to Use the Block Editor to Create Blog Posts
Before we begin explaining how to use specific types of WordPress blocks, it’s helpful to get an understanding of how to add any block to a new page or post.
When you open the post or page editor, you can click on the plus (+) icon in either the text field or in the top-left toolbar to display the available block options:

The Block Editor navigation menu also includes buttons to undo or redo an action, information about the content structure such as its word count, and a drop-down to display what types of blocks are included in the post.
We will get into more detail about working with all of the block options later, but let’s first demonstrate how to add a new block to a post.
First, click on the plus (+) icon in the text field and choose which block to add:

The Block Editor includes drag-and-drop functionality for arranging your content. If you want to rearrange the order of your blocks, you can do so by dragging them with your mouse:
If you need to remove a block, you can do so by clicking on the three-dot icon on the far right of the block toolbar and selecting Delete:
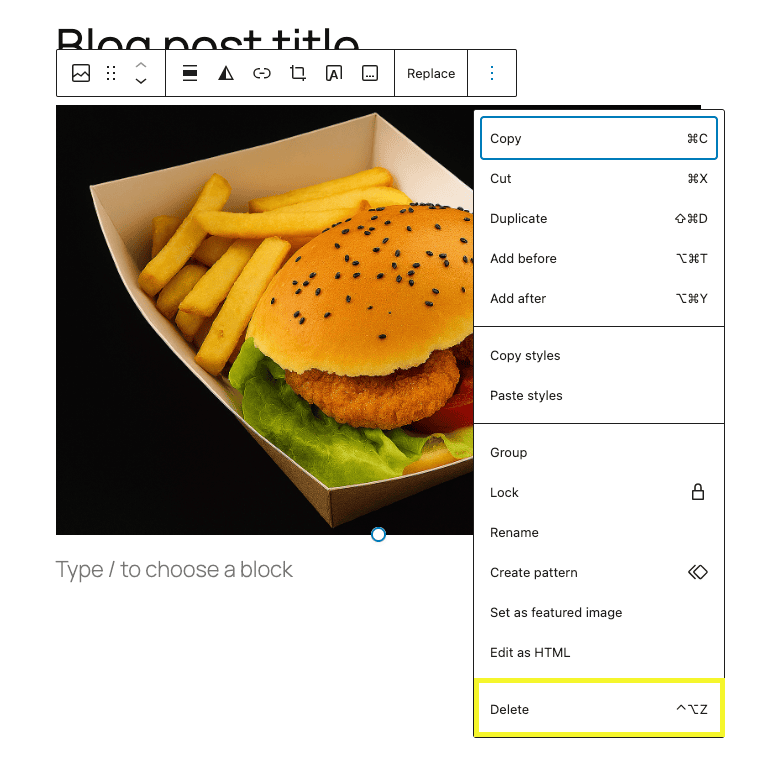
You’ll also notice options to Duplicate Block and Edit as HTML. The other styling and setting options vary depending on the type of block you’re working with.
6 of the Best WordPress Blocks for Student Bloggers
Now that we’ve discussed the basics of blocks, we can take a deeper look into the individual content elements available. Let’s explore six of the best blocks for your student bloggers to know.
1. Paragraph
The paragraph block is the default content element in the WordPress editor. It’s used for regular text, which will likely make up the bulk of the content in any blog post:
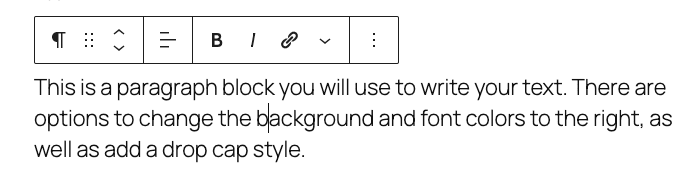
Paragraph blocks come with standard formatting options. In the Paragraph box’s toolbar, you’ll find settings to change font style (bold, italicize), adjust the text alignment, and add a link.
When working with the Paragraph box there are also customizations that can be applied using the Block tab in the right sidebar, there are additional customization options.
For example, you can add a boarder or change the text color:

You can hit Enter or Return on your keyboard at any time to add a new paragraph block, or click on the plus (+) icon as we described earlier.
2. Heading
Headings are an important part of blog posts. They help break up the text so that it’s easier to scan and digest, and are also key to creating accessible content.
WordPress has six heading levels ranging from H1 (largest) to H6 (smallest). It’s best practice to only include one H1 heading per post. In the Block Editor, it’s included by default in the block that reads Add title when you open a new post:

Apart from an H1 heading, most blog posts will only need H2 and H3 headings to create subsections. You can add this block by clicking on the plus (+) icon, then choose the Heading block.
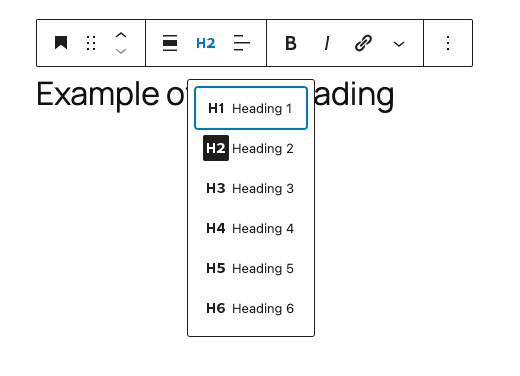
When you insert a heading block, it will automatically be set as an H2. You can change this by selecting the appropriate size in the block’s toolbar.
When your students are starting to blog, it’s important they learn the best practices for adding headings.
For example, it’s recommended to add a new one when changing topics as well as anytime the word count of a section is nearing 300.
Proper heading structures are also essential for website accessibility. They help screen readers and assistive technology devices better understand, interpret, and translate web pages for users with visual impairments.
3. Image
The image block is another WordPress element your students will likely find useful. Images, like headings, can help break up text and make a post more engaging.
To insert an image block, hover your mouse over where you want to place it. Then click the plus (+) icon, followed by the image option.
There are a few options for choosing an image to incorporate. You can upload a file from your computer, select one from your WordPress Media Library, or insert the URL of one you’ve uploaded in the past:
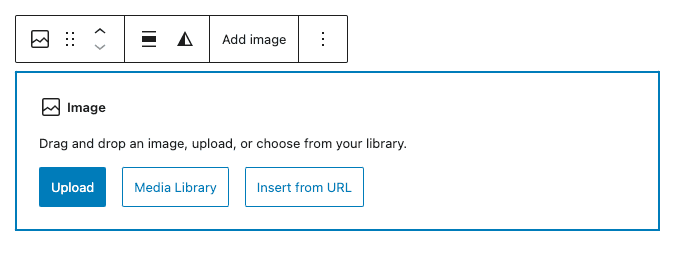
You can also drag a file from your desktop and drop it into the block to upload it.
Once you choose an image, you will have a handful of settings in the toolbar to choose from:
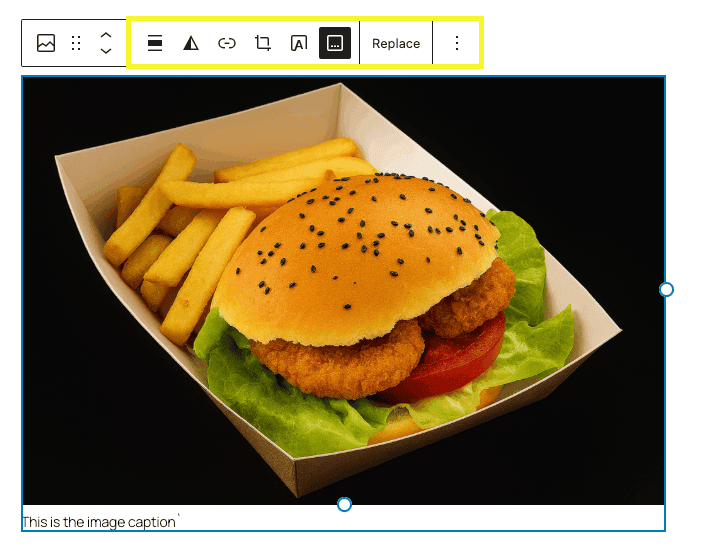
They include:
- Image alignment. If you align the image to either side, you can configure it so the text wraps around it. Centering it will keep any text above and/or below the image.
- Replacing the image. By clicking on the pencil icon, you can choose to select or upload a different image to take the place of the existing one.
- Adding a caption. You can add a caption by clicking on the text field below the image. Then, use the icons that appear to bold, italicize, or link text:
When you have the Image block selected, you can also add Alt Text (Alternative text) in the Block settings found in the right-hand sidebar. This is an important step to help improve the accessibility of your web pages:

There are also options to resize the image. Finally, students can choose to link images to a media file, attachment page, or custom URL.
4. List
The List block is a helpful tool you can use to create both numbered and unordered lists. This block can again be added by clicking the plus (+) icon above or below an existing block or in the top toolbar.

When you add a List block, you will have the option of choosing between the numbered list (the icon with numerical values) or an unordered list (with bullet points):

Also included in the toolbar for the List block are the options to indent or outdent list items. This can be helpful for creating multi-tier lists with subpoints. For example, your students may consider using this functionality for an outline.
There are also features for formatting the text, including options for bold, italicize, or strikethrough.

5. Embed
The Embed block lets you incorporate a variety of media types into your content. Students can use this to display social media posts, music, or videos on their blogs.
To find this block, click on the plus (+) icon. If you scroll down, you will find the Embeds section:
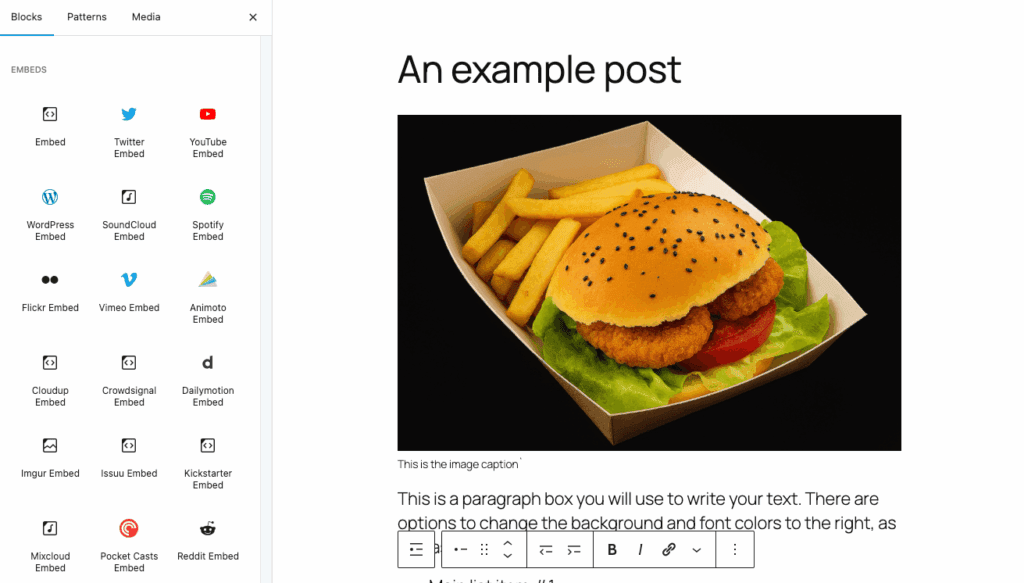
You can choose from popular platforms such as Twitter, Facebook, and Instagram. You can also choose the standard Embed block to add a URL.
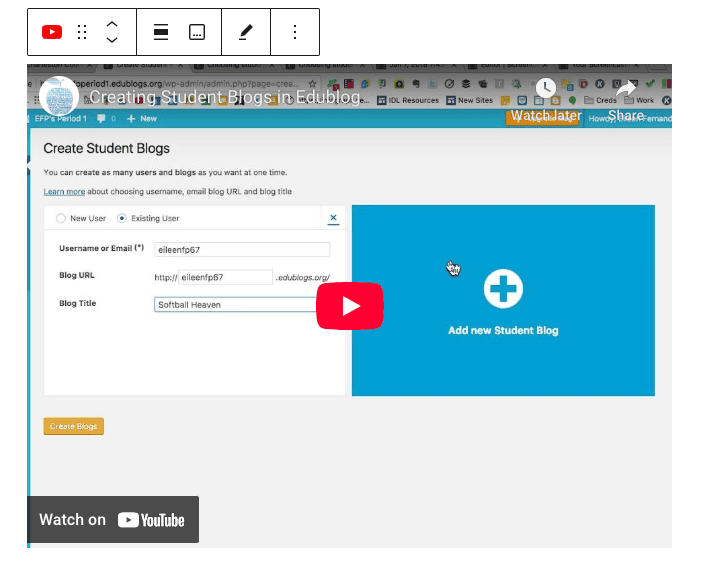
Let’s say one of your students wanted to enhance their blog by adding a relevant YouTube video tutorial. They could simply copy the URL from the video-sharing platform and paste it into the YouTube embed block:
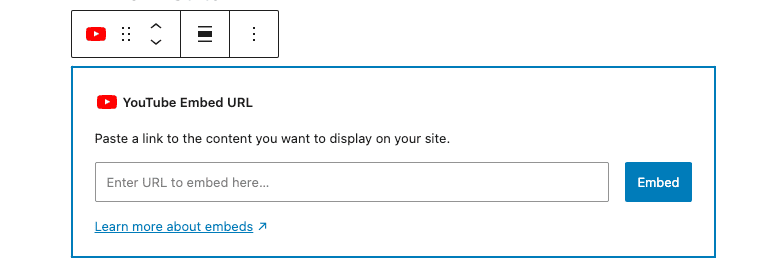
After they paste the URL and click on Embed, the video will automatically be added to the post:
The Embed sidebar toolbar features similar options to those available for the image block we discussed above. For example, you can change the alignment as well as add a caption to embedded content.
6. Quote
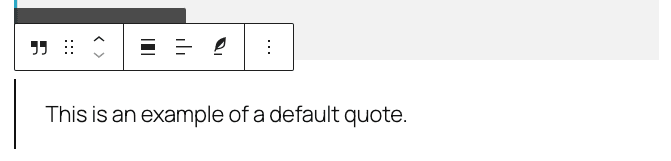
Students often work on projects that involve researching and crediting sources. When they have to include a direct reference, the quote block can be a handy go-to. It lets you turn otherwise dull text into more elegant styles that stand out on the page:

Once you add the quote block, it will prompt you to write the quote. Under that, there will be a text field to Write citation, which is where the name of the author or source should go.
Conclusion
If your students are new to WordPress, the Block Editor can seem overwhelming at first. However, once they familiarize themselves with the different elements available and how to use them, they’ll be able to create beautiful, engaging posts for their blogs.
As we discussed in this article, the Block Editor lets you easily add, remove, and change blocks as needed. This enables your students to experiment with content to create different types of posts while building their blogging skill sets.
Do you have any questions about using the WordPress Block Editor? Let our team know, we’re happy to help!